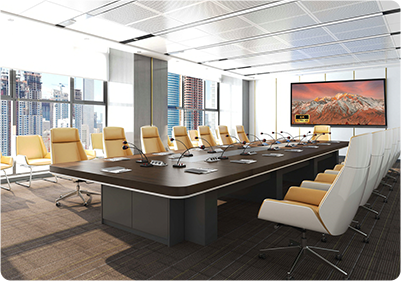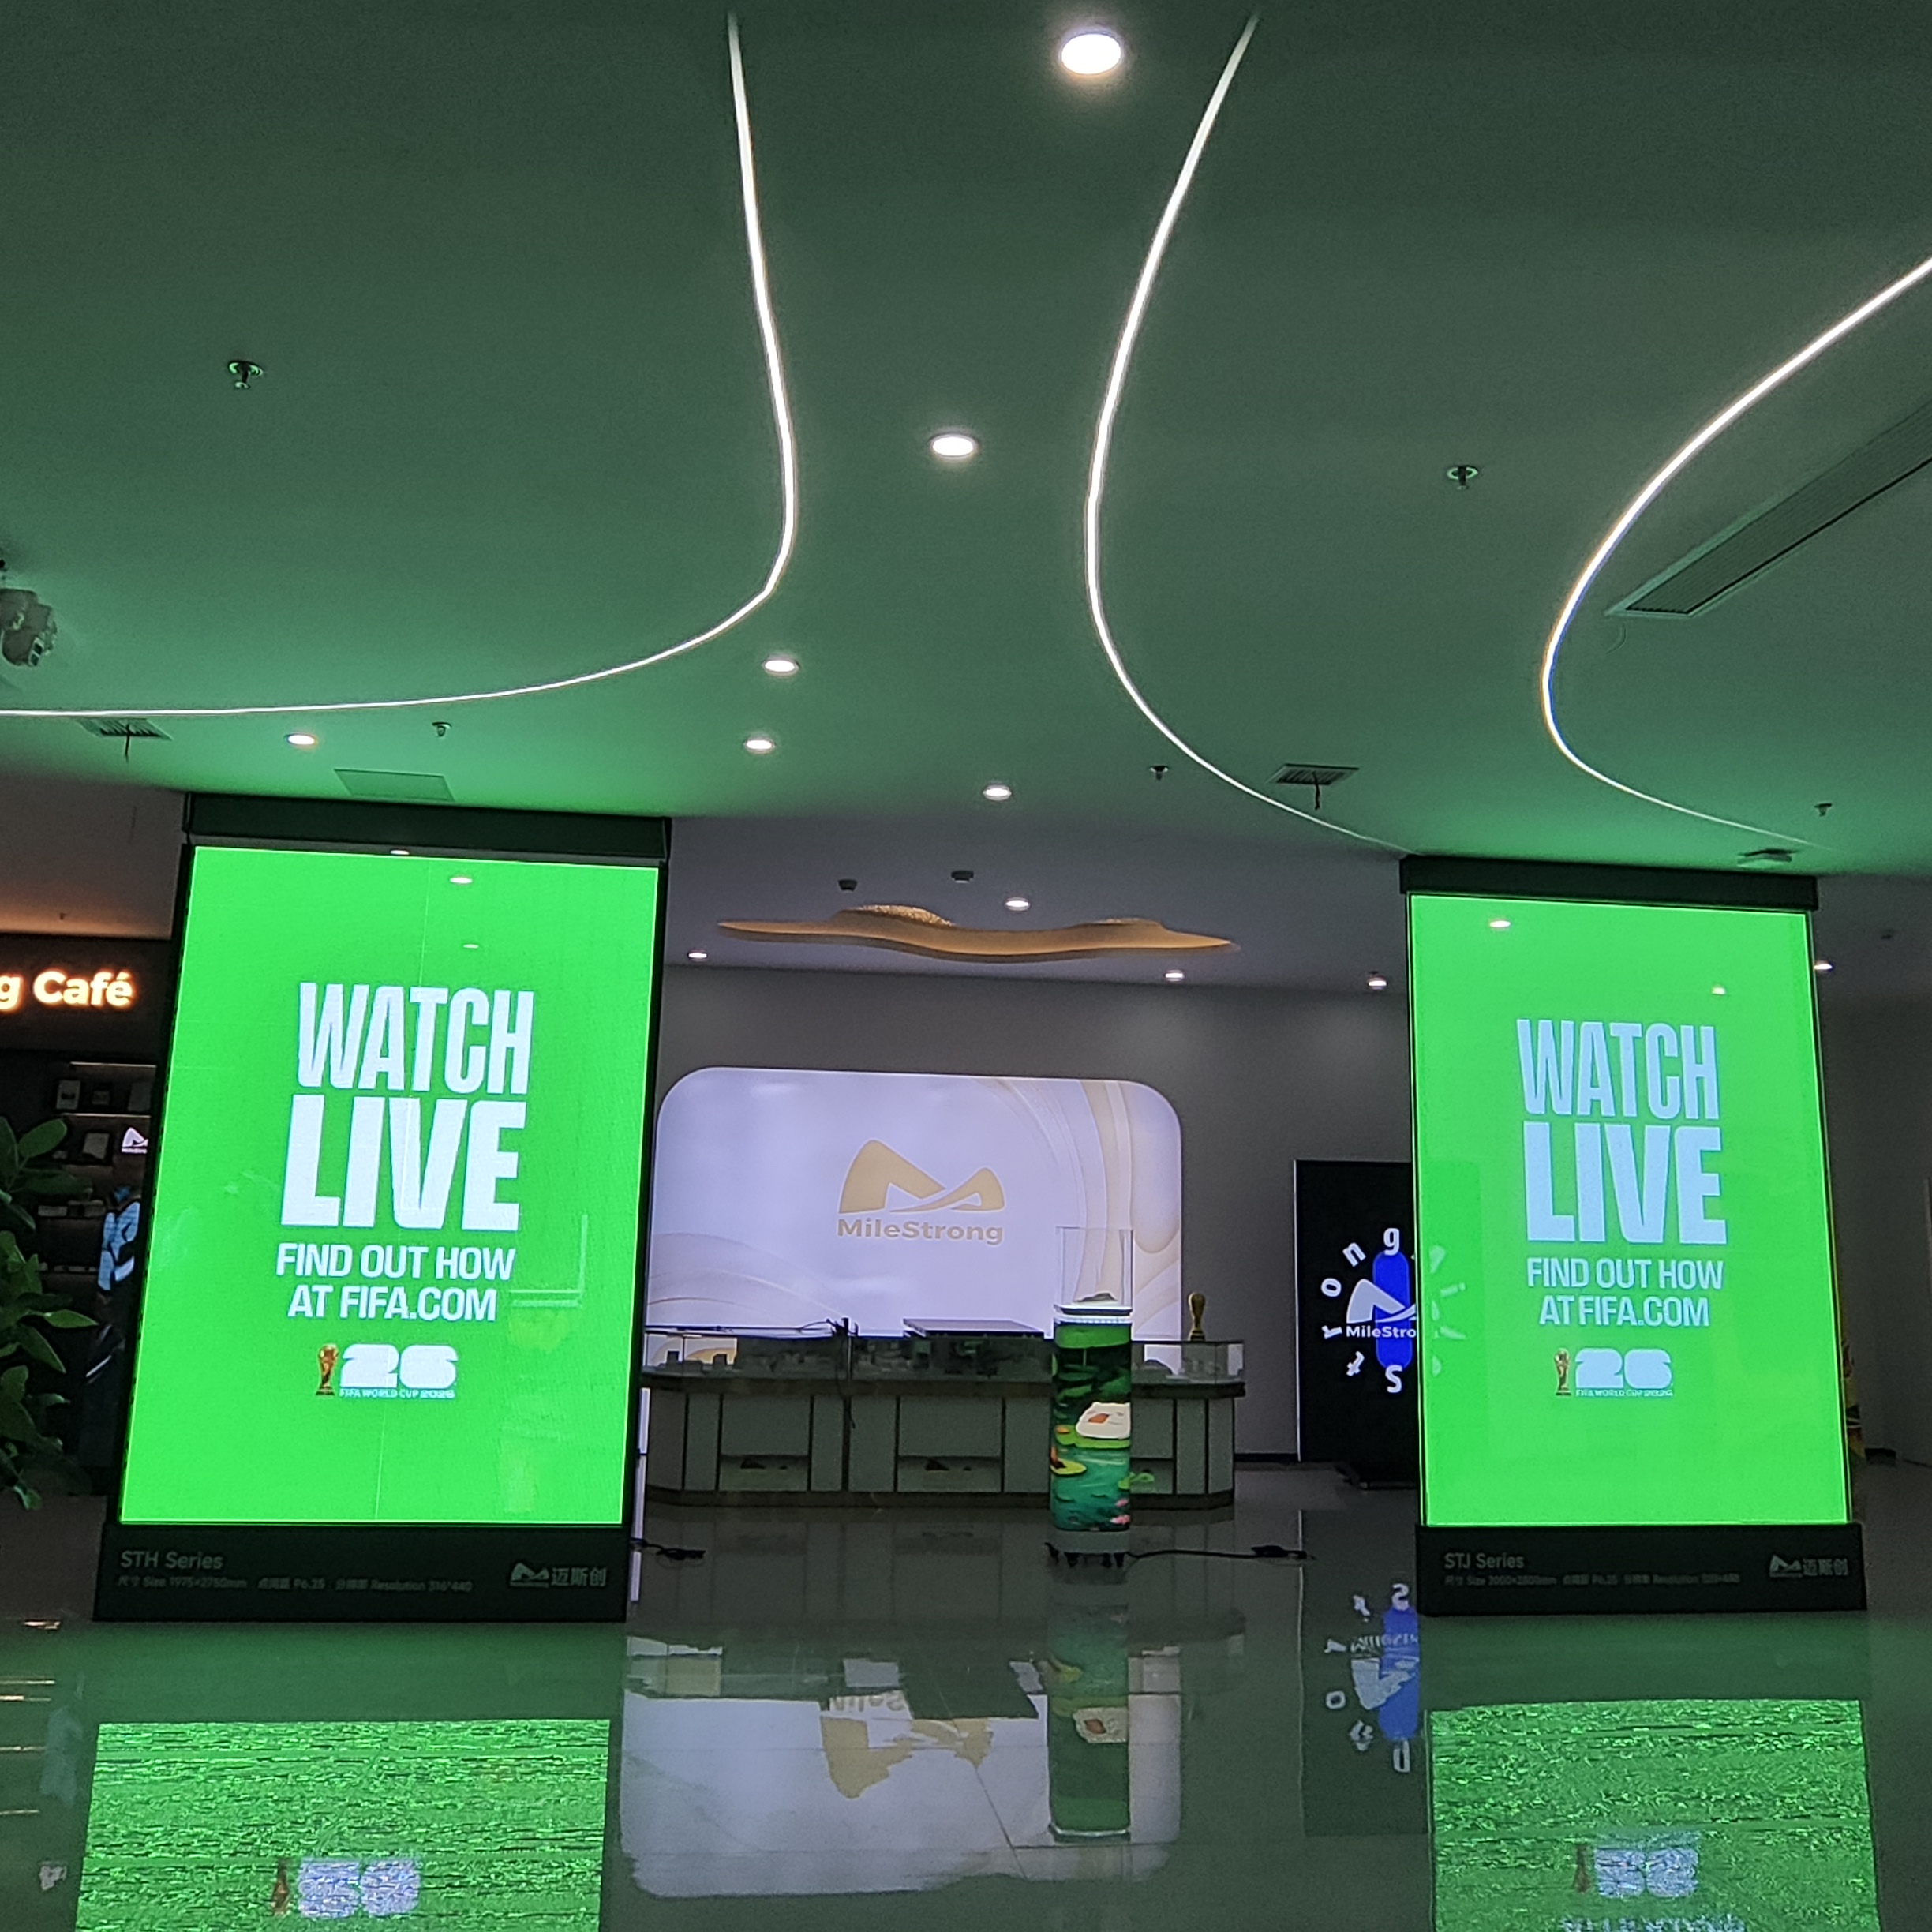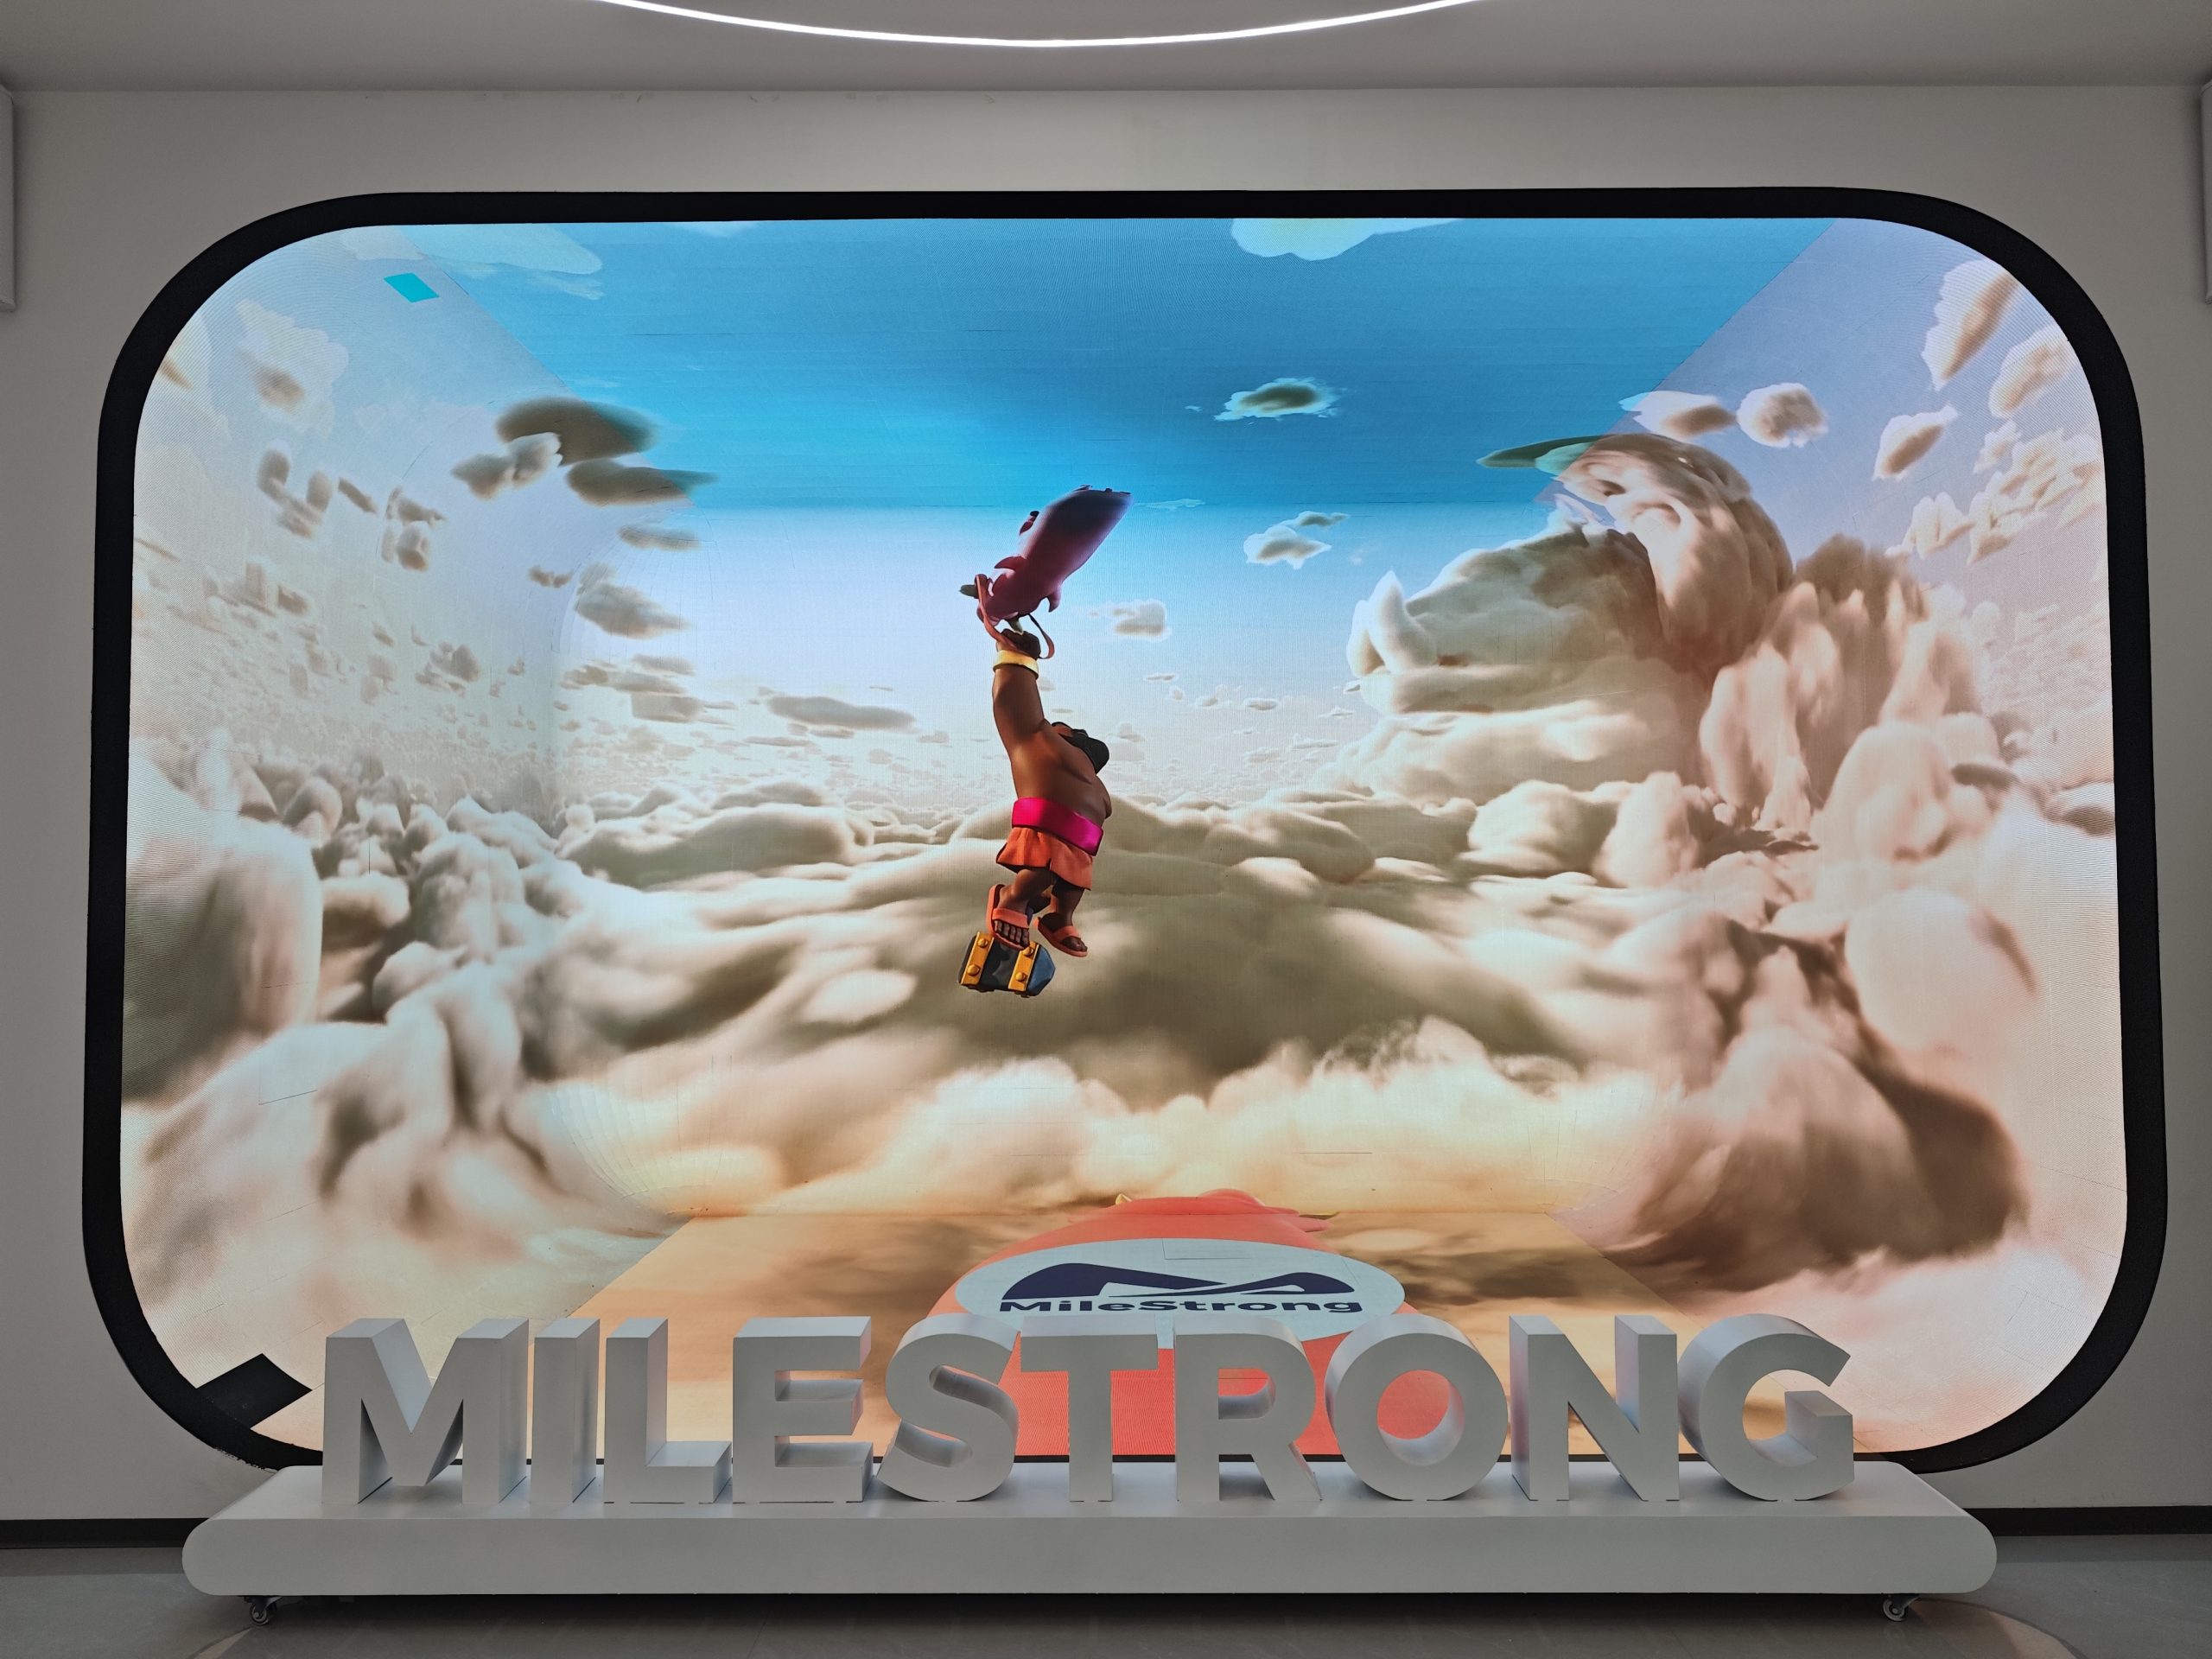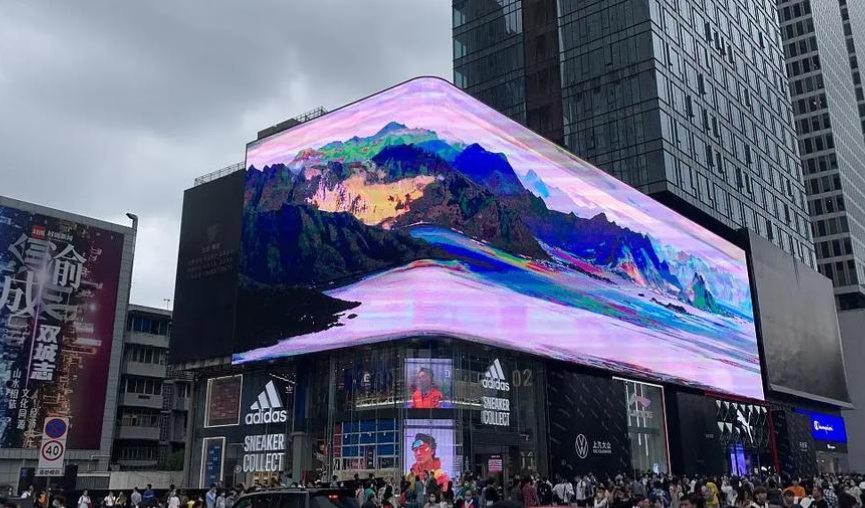


In places like meeting rooms and exhibition halls, many users run into color shifts, dull-looking images, or uneven patches on their LED displays. These issues can really hurt the overall visual quality. The causes are varied—they can come from control system settings, hardware problems, or even the surrounding environment. One easily overlooked factor is ambient light, which can trick your eyes into seeing false color shifts. Good-quality LED screens (like those from premium brands) go through strict color calibration at the factory, which greatly reduces the chance of later color problems. But even the best hardware can show color abnormalities under real-world conditions. When you spot color issues, follow this step-by-step guide—from simple checks to deeper fixes—to find the root cause.
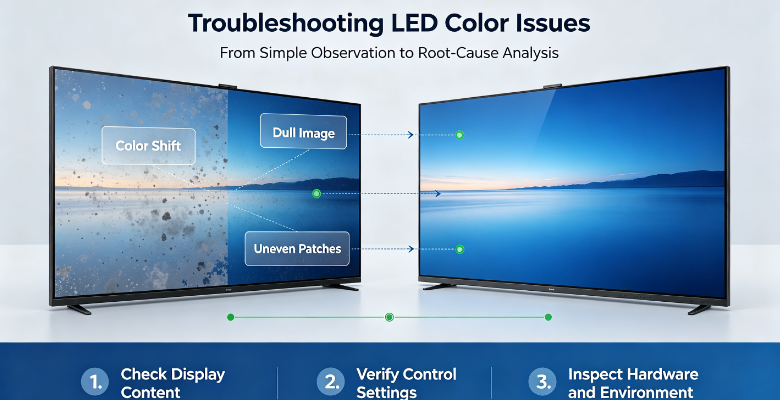
Basic Easy Checks – Do These First (No Disassembly Required)
1. Reboot the whole system to rule out temporary control glitches
Some color glitches come from temporary software bugs in the control system, not hardware damage. A brief program hiccup during operation can cause temporary color shifts.
What to do: Cut power to the screen, restart both the display and the sending card, then check if the colors return to normal. If the problem goes away, it was just a temporary glitch. You can keep using it as usual and just do regular checkups.
2. Thoroughly check all signal cables
Loose ribbon cables, oxidized gold fingers, or damaged video transmission cables can corrupt the image signal—resulting in color casts or jumbled colors on parts of the screen. Many seemingly complex color faults actually come down to poor cable connections.
What to do: Always power off first. Unplug and firmly reconnect all data ribbon cables between modules and HDMI video cables. If metal contacts look black or oxidized, gently wipe the gold fingers with a rubber eraser before reconnecting. If any cable is frayed or cracked, replace it with a new one.
3. Double-check color parameters in the control software
Wrong software settings are a common cause of color distortion. Incorrect RGB color channel order or unbalanced white balance can push the whole picture toward one tint—like looking too green or too red.
What to do: Open the matching control software. First, confirm that the RGB channel order, display mode, and hardware configuration match. Then go to the color adjustment and white balance settings. Adjust the red, green, and blue output brightness reasonably until the three primary colors are balanced—that completes the white balance calibration.
4. Tell real color issues apart from camera‑induced false effects
If the screen looks perfectly fine to your naked eye but shows weird colors or flickering black bars when you shoot it with a phone or camera, the display itself is not faulty.
Why this happens: The shutter speed of your camera doesn’t sync with the LED screen’s refresh rate, causing a moiré or flicker effect.
What to do: Adjust the shutter settings on your camera to improve the recorded image. The LED screen needs no repair or adjustment.
5. Don’t overlook ambient light—it’s a major hidden factor
In indoor meeting rooms and exhibition halls, you often see screens that are perfectly fine hardware‑wise, yet your eyes perceive a reddish tint, faded colors, or uneven color appearance across different areas. That’s visual distortion caused by ambient light.
Common Interference Scenarios:
- The ambient lighting and screen brightness are too far apart. Your eyes adapt, and you perceive a color shift—most commonly, the screen looks overall reddish.
- Uneven room illumination—different parts of the screen receive different light levels. Brightly lit areas look washed out or reddish, while shadowed areas appear darker—making the whole screen look inconsistent.
- Mixing multiple light sources with different color temperatures in the same space. The mixed spectrum changes how the screen colors appear from different viewing angles.
- Using lots of low‑color‑temperature warm lights (yellowish‑reddish). The ambient cast makes you misjudge the screen as too red. Long‑term warm light shining directly on the screen can also indirectly affect its calibrated state.
- Fluorescent lights produce flicker and electromagnetic interference, which can disturb the display circuit and cause color abnormalities.
- Poorly angled light fixtures cast strong reflections directly onto the screen. The reflected light mixes with the screen’s own emitted light, altering its true colors.
A Hardware Issue
When you’ve confirmed that software settings, cables, and the environment are all fine, but color distortion persists, the problem is probably in the hardware. Call a professional technician—do not try to disassemble the screen yourself if you’re not trained.
1. Faulty receiving card, sending card, or driver ICs
Driver chips and receiving cards control color output for each module. A failed chip can cause color abnormalities on an entire module or a local area.
Action: Have a qualified technician test and replace the defective driver IC, receiving card, or other control board components.
2. Aged or damaged LEDs
This is a common hardware issue. Over time, red, green, and blue LEDs fade at different rates—leading to color imbalance. Individual dead LEDs also show up as colored bad pixels.
Action: A few damaged LEDs can be replaced individually. If an entire module shows significant color fading, it’s best to replace the whole module.
3. Lack of factory sorting and ongoing maintenance calibration
Even LEDs from the same production batch have slight brightness and color variations. If the manufacturer doesn’t sort them properly before assembly, you’ll see color blocks or banding with the naked eye. After installation, as LEDs continue to age, the inconsistency gets worse over time.
Action: For commercial applications like meeting rooms and control centers, schedule professional pixel‑by‑pixel calibration 1‑2 times a year. Specialized instruments correct each LED’s color and brightness to maintain long‑term consistency. Premium screens (like those from fine brands) come pre‑calibrated from the factory, so early‑stage color patch issues are fewer—and with annual maintenance, they deliver stable, great‑looking images for years.
Complete Troubleshooting Flow – A Quick Summary
When you face color distortion on an LED screen, follow this logical order:
- Reboot the whole system.
- Check all signal cables and connections.
- Verify white balance and color parameters in the software.
- Rule out camera‑induced false effects.
- Optimize the ambient lighting conditions.
If the problem still isn’t solved after all these steps, it’s almost certainly a hardware fault. Contact a professional engineer for diagnosis and repair—replace parts as needed or carry out a full pixel‑by‑pixel color calibration.